A custom rackmount PC gives you maximum flexibility in component selection, allowing you to spec exactly the CPU, RAM, and storage needed for your playback workload. The 2U form factor mounts cleanly in any standard rack, and the extra depth accommodates high-performance components that smaller computers cannot house. Ideal for Windows-based playback rigs using Ableton Live, Tracks, or custom show control software where you need raw processing power and expandability.
~$2,999Use retailer rows for current price and stock
01 · What it does—and what that changes in your rig.
Product overview
Start with the payoff, then work through how it functions, where it fits, and the details that change a real build.
The payoff
Computer decisions, organized around the whole rig.
A custom rackmount PC occupies the center of gravity in any Windows-based playback rig. Where a Mac mini or a dedicated hardware player forces you to work within someone else's spec decisions, this 2UThe standard slice of rack height: 1U = 1.75″. A 3U box takes three slices; half-rack gear pairs two units side by side in one. machine is built to your exact workload — the right CPU for your track count, the RAM ceiling your show control software actually needs, the storage redundancyA second copy of anything critical — supply, computer, network path — already running so one failure can’t stop the show. you've decided you can't live without. If your workflow lives in Ableton Live, Tracks, or bespoke show control software and you need a machine that answers to your requirements rather than a manufacturer's product line, this is the category you're shopping in.
Documented outputs
22 destination connections
Documented inputs
1Based on documented inputs
Rack space
2UBuilder checks available rail space
Custom product panel2U · 200W
Function
How it works in the path
The catalog numbers tell a practical story at load-in. At 8 kg and 450 mm deep, this is a substantial piece of iron — verify your road case has the depth and your rack rails can carry the weight before you design the build. Power draw sits at 200 W typical with a 350 W ceiling, so budget a 20 A circuit and don't let your power conditionerFilters venue AC, clamps surges, and gives the rack one tidy inlet. Not a voltage regulator and not a battery — just cleaner power.'s breaker be the surprise of the night. The two USB-C and two USB-A ports cover your audio interface, show control dongle, and backup drive without a hub in the chain. Dual HDMI outputs mean you can run a front-of-houseFront Of House — the main mix the audience hears, and the console position out in the room where it gets mixed. confidence monitor or a stage manager display directly off the machine. The 2.5 Gb Ethernet port is the right connector for a network-redundantA second copy of anything critical — supply, computer, network path — already running so one failure can’t stop the show. audio setup if your interface supports it.
Best fit
Where it earns its place in the rack
This unit is the right call if you need processing headroomThe margin between your normal level and where things clip — headroom is what absorbs the snare hit you didn’t see coming. that no consumer small-form-factor machine can match, you're committed to Windows, and you have someone — yourself or a vendor — who can build and support a custom system. It is not the right call if you need a manufacturer's warranty and a phone number to call at 2 AM before a show, or if your advance riderThe document attached to a booking that lists what the band needs — inputs, monitors, power, backline (and the green-room snacks). specifies a platform the tour has already standardized on. A custom machine also means custom troubleshooting: driver conflicts, BIOS tuning, and thermal management under road conditions are on you. Know that going in.
In the rack
Details worth deciding before load-in.
Map your USB ports before the build is finalized — assign one USB-A exclusively to your audio interface and one USB-C to your primary backup drive, then label the ports on the faceplate so the assignments survive crew changeover.
At 450 mm depth, measure your rack case's interior depth with the rear-door hardware in place, not just the nominal spec. Many touring cases lose 20–30 mm to hinges and locking hardware at the back.
Set Windows power management to High Performance and disable all sleep, hibernation, and automatic update behavior before the machine leaves the shop — USB devices disconnecting mid-show and forced reboots at downtime are both power-plan problems, not hardware problems.
Use the dual HDMI outputs to run a secondary display showing your DAWDigital Audio Workstation — the recording and playback software (Logic, Ableton Live, Pro Tools) at the center of a computer rig.'s transport or a simple clock visible from the stage floor, so band and MD can confirm playback state without keying commsProduction intercom — the wired or wireless party line connecting FOH, monitors, stage managers, and lighting during a show..
02 · Know the whole path before you buy.
Signal path
Learn the route as a block diagram: source, product function, transport, and destination. Select any block to see what enters, what changes, and what leaves.
Interactive block diagramAuto-looping · hover, focus, or tap to hold a stage
Port-type signalProduct functionSystem boundary
Follow one signal from source to destination
Each block answers the same three questions: what arrives, what changes here, and what leaves.
01 · Source · selected
IEC C14
RJ45
hdmi
01 · Source
1 documented input
IEC C14
Arrives as
1 documented input
Connector
IEC C14
Signal
power
03 · What this product asks of the rest of the system.
Compatibility
Treat connector names as the start of the check—not the answer. These are the boundaries that determine a complete working path.
Best fit · Computer
Use it when 2U and 450 mm of depth fit the case.
Plan the companion path
Complete the path with upstream and downstream gear that matches connector, direction, signal type, protocol, and wiring standard.
Connector boundary
Documented connectors: usb c, usb a, hdmi, RJ45. Match connector, direction, and signal type—not shape alone.
04 · Every connector, grouped by job.
I/O ports
Switch the product view and the documented port inventory updates with it—hardware and data stay side by side.
Every connector, grouped by job.
Switch panels to keep the hardware view and the documented port list in sync.
Front panelRear panel
All documented ports for Custom Custom Rackmount Playback PC
Port
Panel
Connector
Direction
Signal
Channels
USB-C 1
rear
usb c
bidirectional
data
—
USB-C 2
rear
usb c
bidirectional
data
—
USB-A 1
rear
usb a
bidirectional
data
—
USB-A 2
rear
usb a
bidirectional
data
—
HDMI 1
rear
hdmi
output
video
—
HDMI 2
rear
hdmi
output
video
—
Ethernet (2.5Gb)
rear
RJ45
bidirectional
data
—
Power (IEC)
rear
IEC C14
input
power
—
Showing 8 of 8 documented physical ports.
05 · Compare the decision, not just the price.
Alternatives
The rows are organized around fit, power, I/O, and system role so a cheaper unit cannot hide a more expensive workflow.
2U Rackmount PCA custom rackmount PC gives you maximum flexibility in component selection, allowing you to spec exactly the CPU, RAM, and storage needed for your playback workload. The 2U form factor mounts cleanly in any standard rack, and the extra depth accommodates high-performance components that smaller computers cannot house. Ideal for Windows-based playback rigs using Ableton Live, Tracks, or custom show control software where you need raw processing power and expandability.View gear →
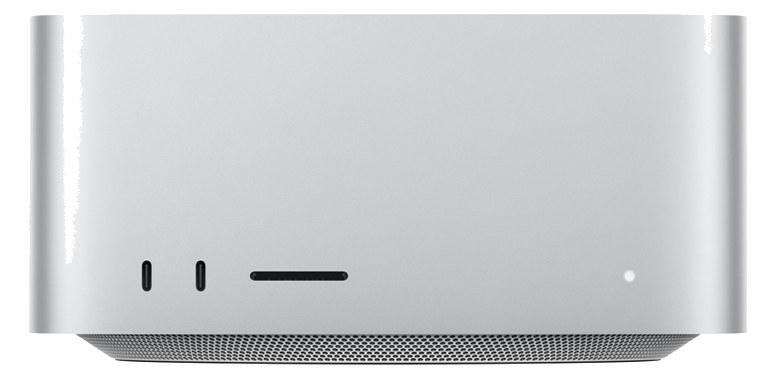
Mac Studio M4 MaxThe Mac Studio with Apple Silicon offers desktop-class performance in a compact form factor that fits on a 2U rack shelf, making it an excellent primary or backup playback computer for Ableton Live, MainStage, or Logic-based rigs. Multiple Thunderbolt ports let you connect high-end audio interfaces, and the M2 Max chip handles large session files with plenty of headroom. Its silent operation means no fan noise bleeding into nearby microphones on a quiet stage.View gear →
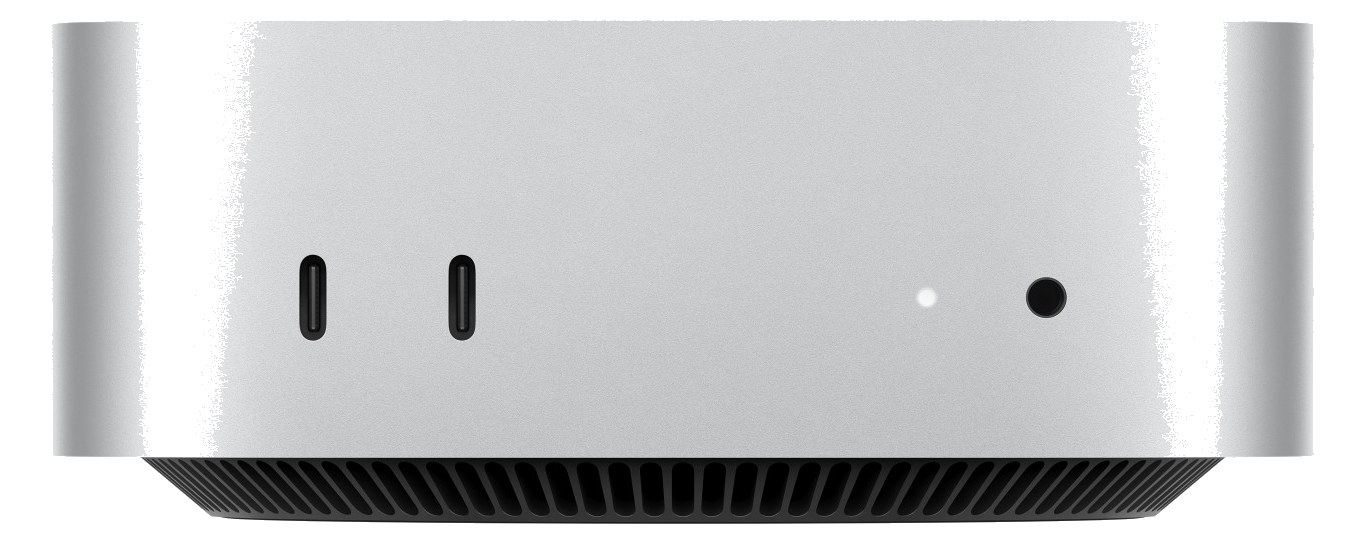
Mac Mini M4The Mac Mini with Apple Silicon is the most compact and power-efficient Mac option for a playback rig, drawing minimal power while delivering impressive performance for Ableton Live, MainStage, or QLab sessions. Its half-rack footprint means it can share a rack shelf with another half-rack device, maximizing your use of space. The integrated Ethernet port and multiple USB-C connections make it easy to connect to Dante networks and audio interfaces without dongles.View gear →
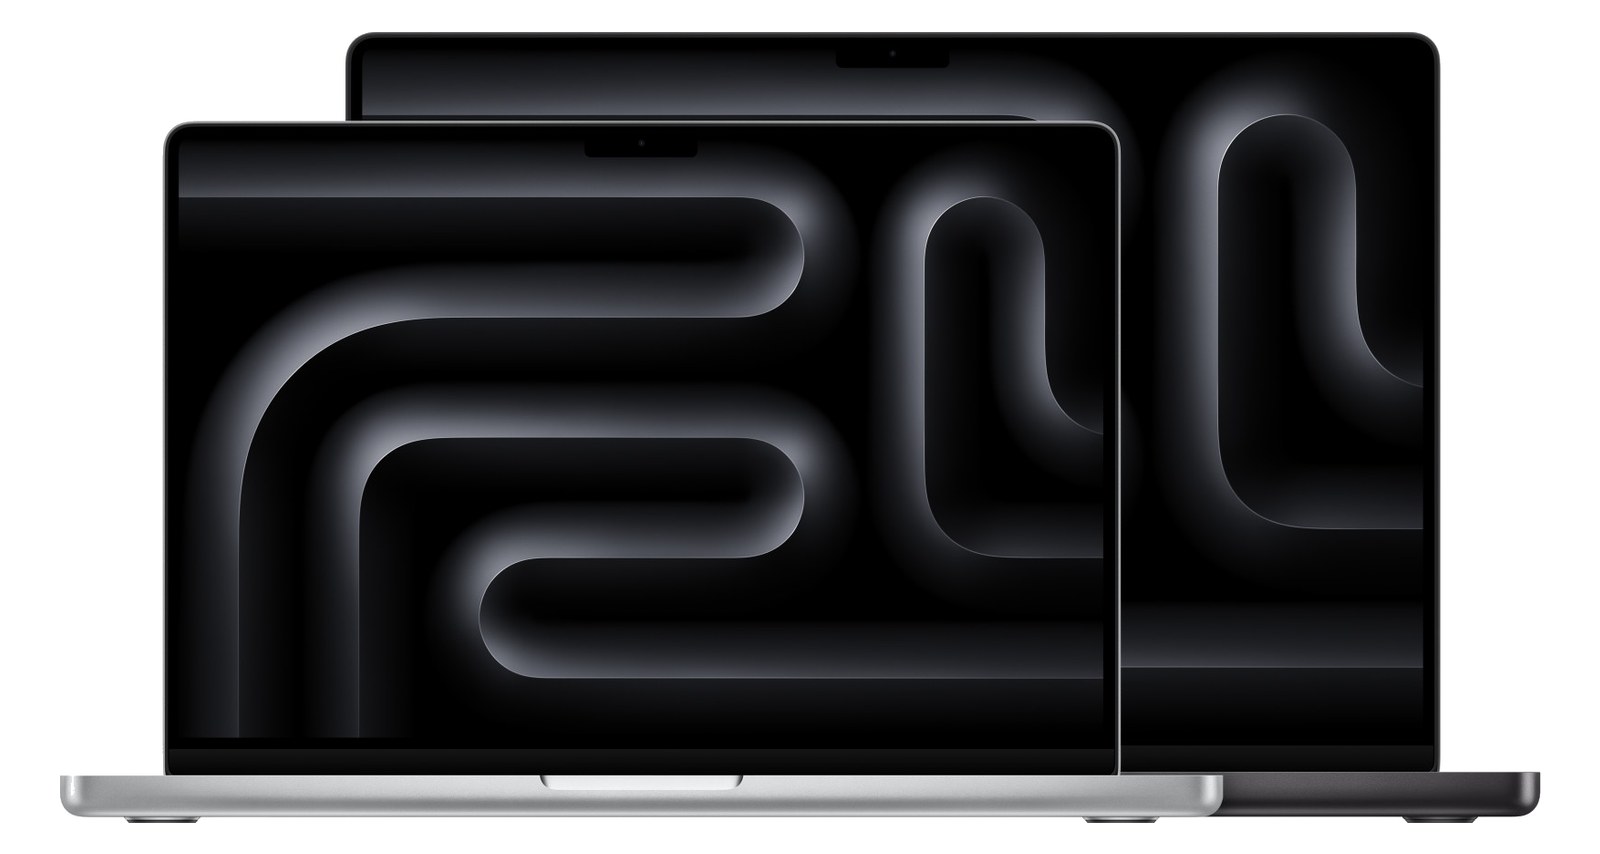
MacBook ProRack-mounting a MacBook Pro gives you the full power and screen of a laptop inside your rack, which is useful when you need direct visual access to your DAW during a show. The built-in display means no external monitor is needed for quick adjustments, and Thunderbolt connectivity supports high-end audio interfaces. This approach is common for acts transitioning from a laptop-on-a-table setup to a proper rack rig while keeping the familiar workflow.View gear →
Placement is only the start. Builder checks space · depth · weight, power headroom, dependencies, and compatible signal paths around this exact catalog item.Open in Builder