
Apple MacBook Pro (Rack-Mounted)
Apple·Model MacBook Pro·macbook-pro-rack
Photos
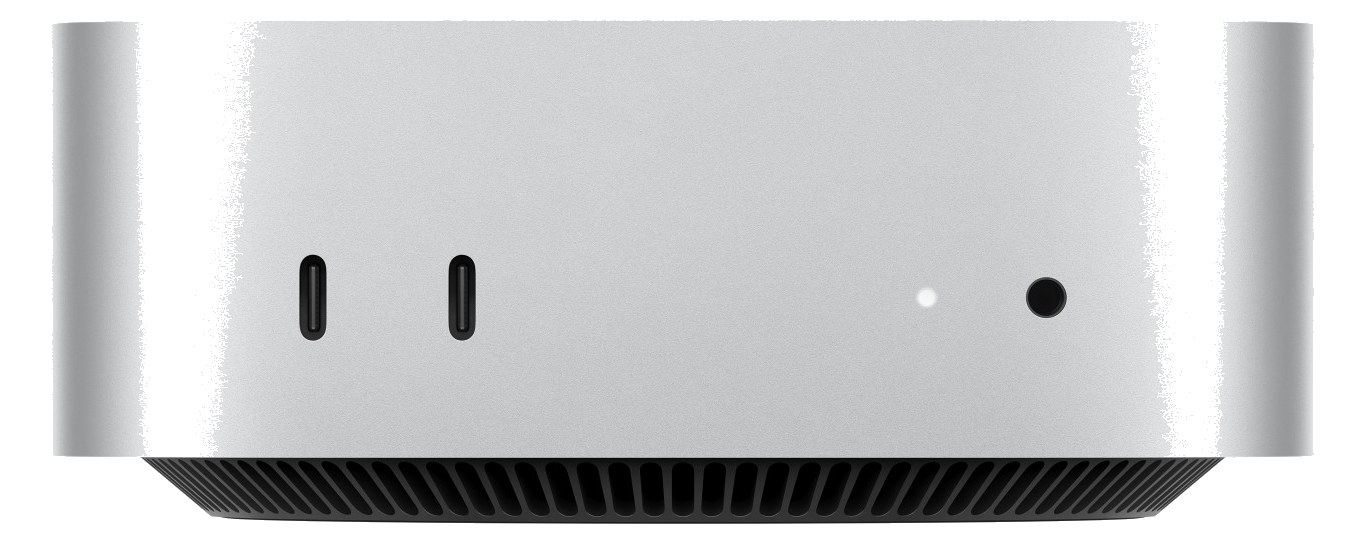
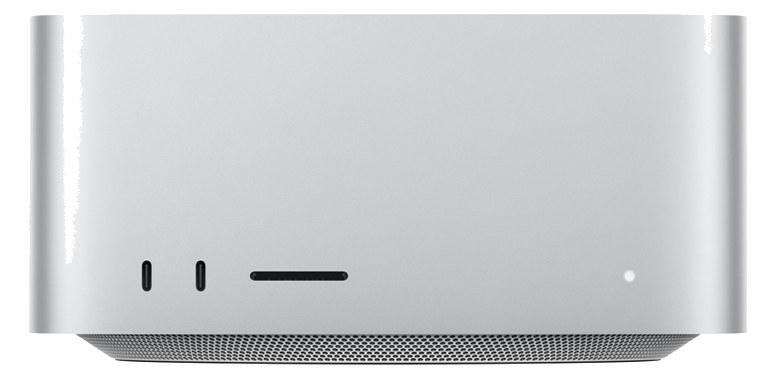
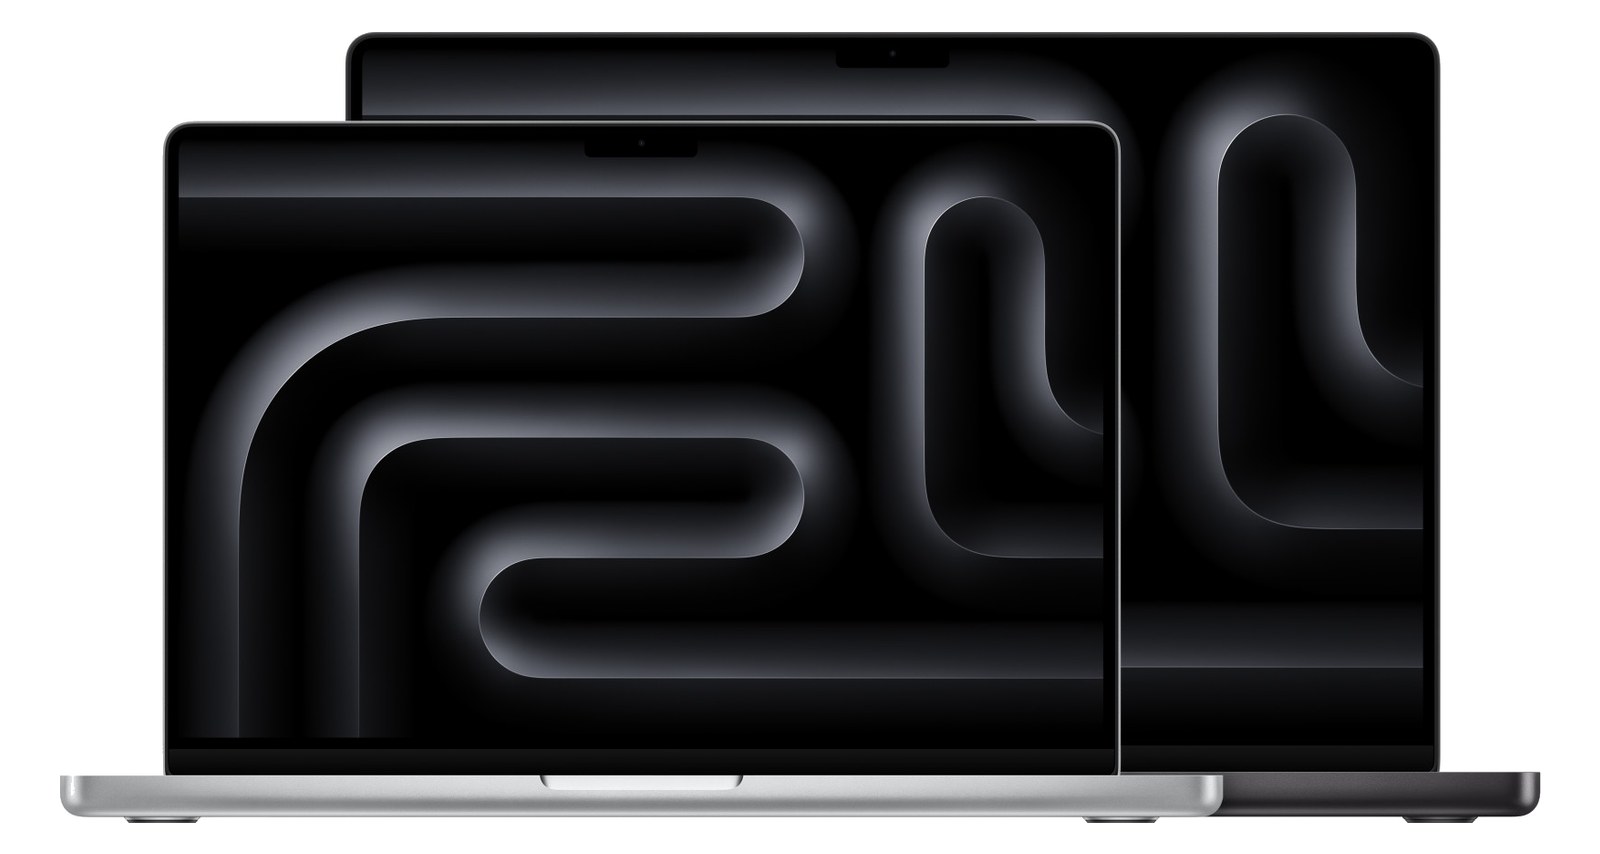
Manufacturer product photography — the drawn faceplate above stays true to panel layout; these show the hardware itself.
About the Apple MacBook Pro
Rack-mounting a MacBook Pro gives you the full power and screen of a laptop inside your rack, which is useful when you need direct visual access to your DAWDigital Audio Workstation — the recording and playback software (Logic, Ableton Live, Pro Tools) at the center of a computer rig. during a show. The built-in display means no external monitor is needed for quick adjustments, and Thunderbolt connectivity supports high-end audio interfaces. This approach is common for acts transitioning from a laptop-on-a-table setup to a proper rack rig while keeping the familiar workflow.
Rack-mounting a MacBook Pro is less a product decision than a workflow decision — you're committing to Apple silicon, macOS, and the ecosystem of software that runs on it as the brain of your rig. In a playback or IEMIn-Ear Monitor — earpieces that replace floor wedges, feeding each player their own mix. The reason this whole rack exists. context, this machine is typically running Ableton, QLab, MainStage, or a similar DAWDigital Audio Workstation — the recording and playback software (Logic, Ableton Live, Pro Tools) at the center of a computer rig., with audio moving out over Thunderbolt to an interface and then into your signal chain. The built-in display is the real differentiator here: no KVM, no external monitor arm, just the screen folded open inside a 2UThe standard slice of rack height: 1U = 1.75″. A 3U box takes three slices; half-rack gear pairs two units side by side in one. tray at eye level when you need it and closed when you don't.
Three Thunderbolt ports is a meaningful number in a working rig — it's enough to run a primary audio interface, a backup drive or secondary interface, and still have headroomThe margin between your normal level and where things clip — headroom is what absorbs the snare hit you didn’t see coming. for video or networking without a hub, though a dock will often be cleaner in practice. Power draw is listed at 30W idle and up to 96W under load, which is honest — a heavy session with USB devices and an interface pulling busA path where multiple channels sum into one signal — mixes, groups, and mains are all buses. A 25-bus console can build 25 blends at once. power can push that ceiling fast, so budget accordingly on your power conditionerFilters venue AC, clamps surges, and gives the rack one tidy inlet. Not a voltage regulator and not a battery — just cleaner power.. At 2.1 kg and 310mm deep, the machine itself is not the weight problem; the shelf or tray it mounts in adds mass and depth, so measure your rack before you order hardware.
This setup is the right call if your show is built around a macOS software stack you already trust and your touring or install rig needs a compact, self-contained computer with no external display dependency. It's also a reasonable step up from a laptop-on-a-table setup without forcing you to rebuild your template from scratch. If you need redundancyA second copy of anything critical — supply, computer, network path — already running so one failure can’t stop the show., though, a single machine in a rack is still a single point of failure — engineers running high-stakes shows usually pair this with a backup machine or at minimum a robust session-save discipline. If your workflow is Windows-native or you're running a dedicated playback server that doesn't need a screen, there are purpose-built rackmount options worth considering instead.
In the rack
- Mount the tray at a height where the open lid puts the display at a comfortable read — roughly chest to eye level from where you'll be standing during show. Too low and you're crouching at changeover; too high and the keyboard is unusable.
- Velcro or cable-tie the MagSafe or USB-C power cable to the tray frame so it can't walk during transit. A lost power connection mid-show is a preventable disaster.
- Assign one Thunderbolt port exclusively to your primary audio interface and document which port is which with label tape on the tray. Accidental hot-swap to a different port can reset Core Audio device order and rename your interface in your session.
- Turn off automatic macOS updates and disable Wi-Fi calling, Spotlight indexing, and notification center before the first show — background processes on a general-purpose OS can spike CPU and introduce buffer issues at the worst possible moment.
MacBook Pro mounted in a rack shelf/tray. Price is approximate. Powers via MagSafe 3 (captive-magnet brick, no PortType) or USB-C PD on any Thunderbolt port — see BUSA path where multiple channels sum into one signal — mixes, groups, and mains are all buses. A 25-bus console can build 25 blends at once._POWERED_NO_INLET in passive-no-power.ts.
I/O Ports (4)
| Port | Connector | Direction | Signal | Channels |
|---|---|---|---|---|
| Thunderbolt 1 | THUNDERBOLT | bidirectional | data | — |
| Thunderbolt 2 | THUNDERBOLT | bidirectional | data | — |
| Thunderbolt 3 | THUNDERBOLT | bidirectional | data | — |
| HDMI | HDMI | output | video | — |
Deciding between two?
Rack space, watts, weight and every connector, side by side.
Related gear
Related articles
Guides from our library that cover planning around computer gear.
How to choose between a digital mixer, a Thunderbolt interface, and a Dante converter as the brain of your IEM rack — with concrete picks at each tier.
How to build a live-performance playback rig that runs click + backing tracks reliably — interface sizing, routing rules, software comparison, and what to do when the laptop crashes.
How to build a fail-safe live playback rig with primary + backup laptops, an auto-switching audio interface, and a failover workflow you can actually trust on a Sunday morning.
LTC vs MTC vs MIDI Clock, how to generate timecode from Ableton or Playback, how lighting and video receive it, and the frame-rate mistake that drifts every show.