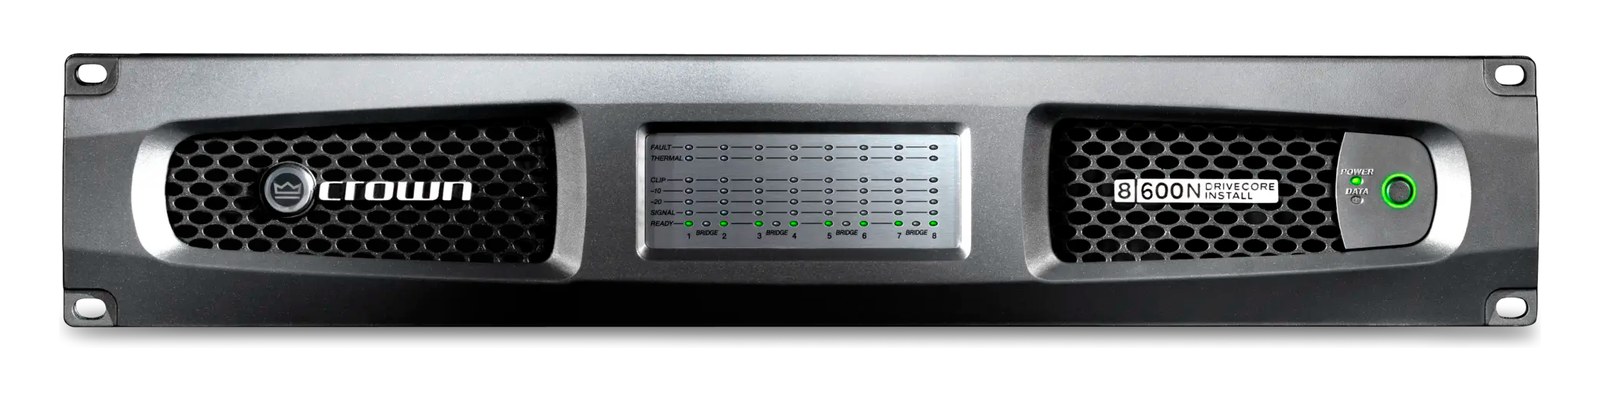
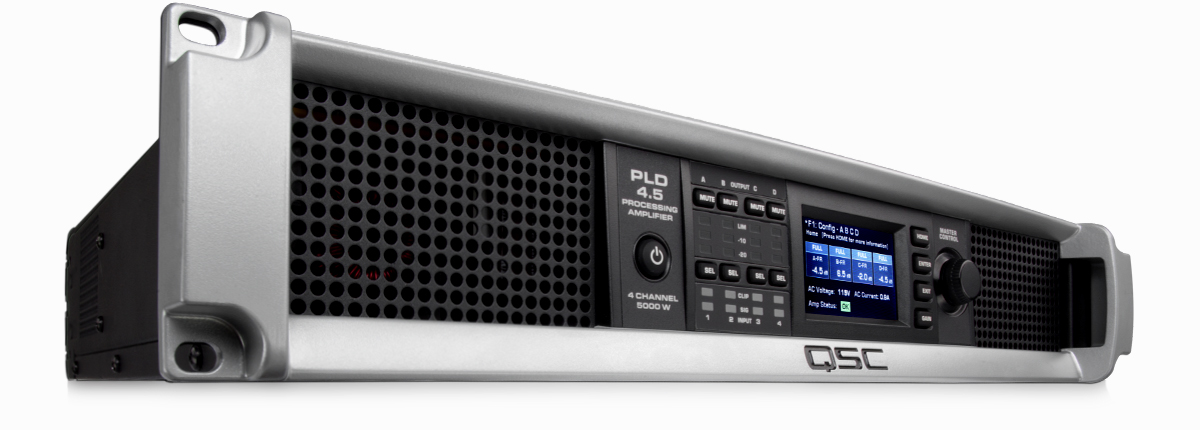
The Crown DCi 8|600N doubles the channel density of the DCi 4|600N — 8 × 600W @ 4Ω in the same 2U footprint. Drives monitor wedge arrays, distributed PA zones, or full-range systems where you want each driver on its own amp channel for precise alignment. BLU link networking talks to a BSS Soundweb host upstream so EQ + crossover + limiting comes from there. Ubiquitous on install + house-of-worship + small-to-mid touring.
~$4,199Use retailer rows for current price and stock
01 · What it does—and what that changes in your rig.
Product overview
Start with the payoff, then work through how it functions, where it fits, and the details that change a real build.
The payoff
Power Amplifier decisions, organized around the whole rig.
The DCi 8|600N is Crown's answer to the question every monitor engineer eventually asks: how do I get more amp channels without surrendering more rack space? Eight independent channels at 600W into 4Ω live in a 2UThe standard slice of rack height: 1U = 1.75″. A 3U box takes three slices; half-rack gear pairs two units side by side in one. frame, which means a single rack space above or below buys you a complete wedgeA floor monitor speaker angled up at the performer — the thing IEMs replace, and the thing you fall back on when they die. system for a five- or six-piece band with room left for spare channels. It fits naturally in a dedicated monitor rack, a distributed-zone install, or any touring rig where individual driver control matters more than raw wattage per channel.
Documented outputs
99 destination connections
Required cable runs
1RJ45
Rack space
2UBuilder checks available rail space
Crown product panel2U · 700W
Function
How it works in the path
The BLU link ports are the feature that defines how this amp actually behaves in a real system. When you're running a BSS Soundweb London upstream, EQ, crossoverSplits audio into frequency bands so each speaker only gets what it can handle — lows to the subs, highs to the horns., alignment delay, and per-channel limiting all live in the DSPDigital Signal Processing — the number-crunching that does EQ, compression, and effects inside a box. More DSP means more processing at once. host — the amp just receives routed channels over a single Cat5Standard network cable grades. In an audio rig one cheap Cat5e run can replace a 48-channel copper snake; AES50 wants it shielded. hop and passes them to the outputs. Analog fallback via eight discrete XLRThe standard 3-pin locking connector for mics and balanced line signals — pin 1 is the shield, pins 2 and 3 carry the balanced pair. inputs is there if you need it, but on a networked rig those connectors are mostly insurance. The idle draw of 700W and a peak ceiling of 3200W means circuit planning matters: budget a 20A circuit minimum and don't share it with anything that also surges hard.
Best fit
Where it earns its place in the rack
This amp belongs in the rack of an engineer who is already committed to a BSS Soundweb ecosystem or is building toward one. The channel density and network integration make it genuinely efficient for monitor systems, FOHFront Of House — the main mix the audience hears, and the console position out in the room where it gets mixed. fill zones, or house-of-worship installs where you want centralized DSPDigital Signal Processing — the number-crunching that does EQ, compression, and effects inside a box. More DSP means more processing at once. and simple amp-room wiring. If you're running a standalone analog rig without a BLU link host, you're paying for capability you'll never use — a conventional eight-channel amp would serve you better and lighter. At 12.7 kg in a 2UThe standard slice of rack height: 1U = 1.75″. A 3U box takes three slices; half-rack gear pairs two units side by side in one. slot it's also a real weight consideration in a fly rig; know what your case is rated for before you commit two of these side by side.
In the rack
Details worth deciding before load-in.
Plan your BLU link chain before load-in — daisy-chaining the Thru port to the next amp downstream keeps cabling clean, but the Soundweb host needs to see every node on the same subnet or discovery will fail at the worst possible moment.
With a 3200W peak draw, put this amp on its own 20A IECThe standard three-prong appliance power inlet on rack gear — the kettle lead. C13/C14 in spec-sheet speak. circuit and confirm the distroOne pair of antennas feeding many receivers through an amplified splitter — replaces the forest of whips and keeps RF levels consistent. breaker is not shared with console or workstation feeds — a transient surge from the amp stage can corrupt audio playback on shared circuits.
Label speaker output connectors at the amp with both channel number and monitor mix name during install, not just at show time — Phoenix/Speakon breakoutsA cable that splits one multichannel connector (like a DB25) into individual plugs — the octopus that turns 8 channels into 8 XLRs. look identical under stage lighting and a mislabeled pull costs you minutes you don't have.
If you're running analog inputs as a backup path, pre-cable and gainHow much the preamp amplifies the incoming signal. Too low and you’re hunting through hiss; too high and peaks clip.-match them during soundcheck so that switching from BLU link to analog in an emergency is a source-select move, not a reconfigure.
02 · Know the whole path before you buy.
Signal path
Learn the route as a block diagram: source, product function, transport, and destination. Select any block to see what enters, what changes, and what leaves.
Interactive block diagramAuto-looping · hover, focus, or tap to hold a stage
Port-type signalProduct functionSystem boundary
Follow one signal from source to destination
Each block answers the same three questions: what arrives, what changes here, and what leaves.
01 · Source · selected
XLR female + RJ45
RJ45
RJ45 + XLR female
01 · Source
10 documented inputs
XLR female + RJ45
Arrives as
10 documented inputs
Connector
XLR female + RJ45
Signal
analog audio
03 · What this product asks of the rest of the system.
Compatibility
Treat connector names as the start of the check—not the answer. These are the boundaries that determine a complete working path.
Best fit · Power Amplifier
Use it when 2U and 410 mm of depth fit the case.
Plan the companion path
Complete the path with upstream and downstream gear that matches connector, direction, signal type, protocol, and wiring standard.
Connector boundary
Documented connectors: XLR female, RJ45, IEC C14. Match connector, direction, and signal type—not shape alone.
04 · Every connector, grouped by job.
I/O ports
Switch the product view and the documented port inventory updates with it—hardware and data stay side by side.
Every connector, grouped by job.
Switch panels to keep the hardware view and the documented port list in sync.
Front panelRear panel
All documented ports for Crown DCi 8|600N Network Amplifier
Port
Panel
Connector
Direction
Signal
Channels
Analog In 1 (XLR)
rear
XLR female
input
analog audio
—
Analog In 2 (XLR)
rear
XLR female
input
analog audio
—
Analog In 3 (XLR)
rear
XLR female
input
analog audio
—
Analog In 4 (XLR)
rear
XLR female
input
analog audio
—
Analog In 5 (XLR)
rear
XLR female
input
analog audio
—
Analog In 6 (XLR)
rear
XLR female
input
analog audio
—
Analog In 7 (XLR)
rear
XLR female
input
analog audio
—
Analog In 8 (XLR)
rear
XLR female
input
analog audio
—
BLU link In (RJ45)
rear
RJ45
input
digital audio
256
BLU link Thru (RJ45)
rear
RJ45
output
digital audio
256
Speaker Out 1 (Phoenix/Speakon)
rear
XLR female
output
analog audio
—
Speaker Out 2 (Phoenix/Speakon)
rear
XLR female
output
analog audio
—
Speaker Out 3 (Phoenix/Speakon)
rear
XLR female
output
analog audio
—
Speaker Out 4 (Phoenix/Speakon)
rear
XLR female
output
analog audio
—
Speaker Out 5 (Phoenix/Speakon)
rear
XLR female
output
analog audio
—
Speaker Out 6 (Phoenix/Speakon)
rear
XLR female
output
analog audio
—
Speaker Out 7 (Phoenix/Speakon)
rear
XLR female
output
analog audio
—
Speaker Out 8 (Phoenix/Speakon)
rear
XLR female
output
analog audio
—
Ethernet (control)
rear
RJ45
bidirectional
data
—
Power (IEC)
rear
IEC C14
input
power
—
Showing 20 of 20 documented physical ports. Scroll to review the remaining rows.
05 · Compare the decision, not just the price.
Alternatives
The rows are organized around fit, power, I/O, and system role so a cheaper unit cannot hide a more expensive workflow.
DCi 8|600NThe Crown DCi 8|600N doubles the channel density of the DCi 4|600N — 8 × 600W @ 4Ω in the same 2U footprint. Drives monitor wedge arrays, distributed PA zones, or full-range systems where you want each driver on its own amp channel for precise alignment. BLU link networking talks to a BSS Soundweb host upstream so EQ + crossover + limiting comes from there. Ubiquitous on install + house-of-worship + small-to-mid touring.View gear →
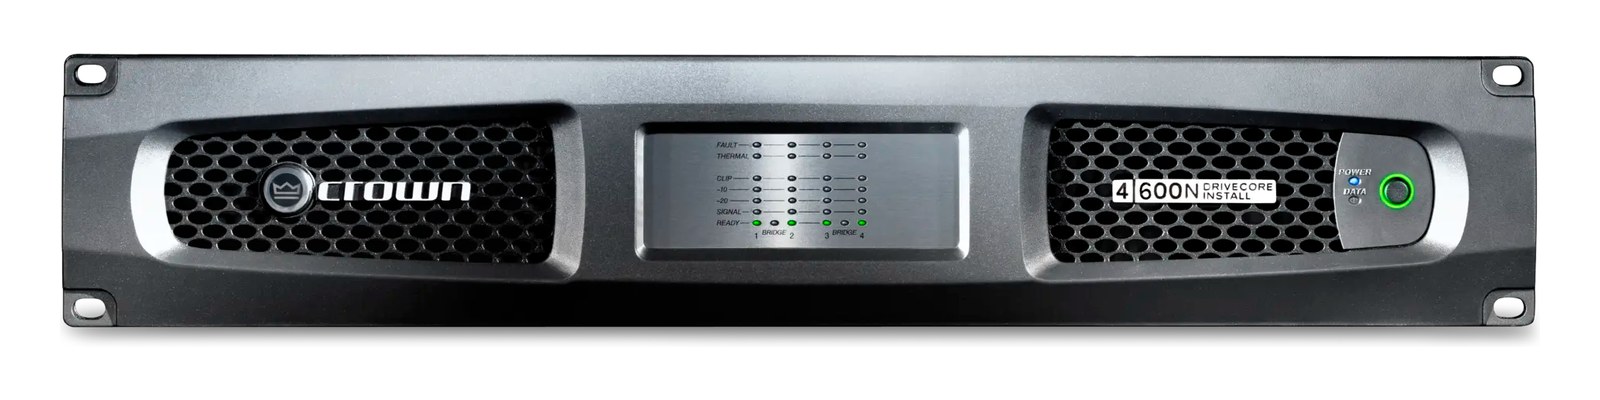
DCi 4|600NThe Crown DCi 4|600N is the touring + install workhorse from the DCi line — four channels of 600W @ 4Ω, onboard DSP for crossover and limiting, and BLU link networking so the amp room talks to FOH over a single Cat6 instead of analog runs. Drives top boxes on monitor wedges and small/mid PA tops; pairs with a system processor like a Lake LM or BSS BLU host for full loudspeaker management. Lives in countless venue install rigs and touring fly racks.View gear →
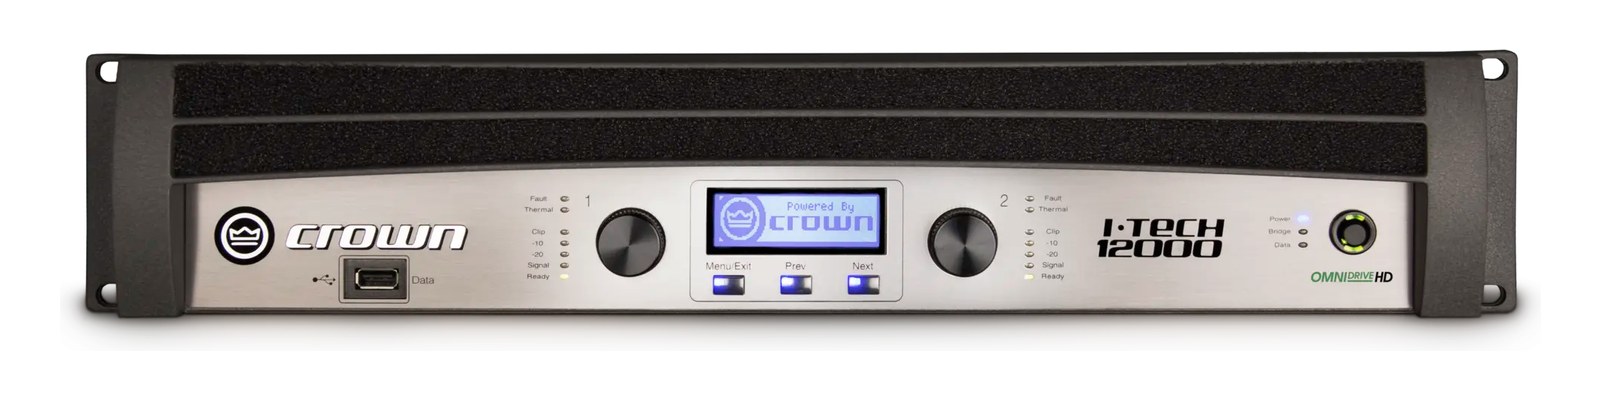
I-Tech 12000HDThe Crown I-Tech 12000HD is a two-channel 4500W-per-side touring amplifier with onboard BSS Omnidrive HD DSP — crossover, alignment, EQ, and limiting in the amp itself, all controllable from BSS Audio Architect. Pairs naturally with BSS Soundweb London system processors and a JBL VTX or VRX line array system, since all three live in the Harman ecosystem and share control software.View gear →
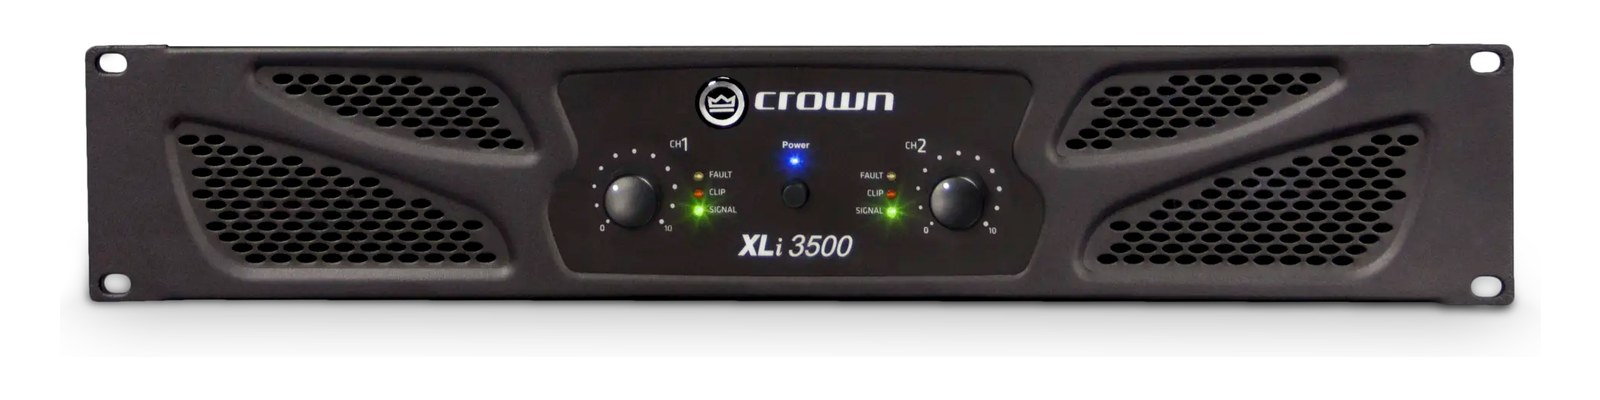
XLi 3500The Crown XLi 3500 is the no-nonsense two-channel power amp that has been the entry point to "real touring power" for two decades. 1350W per channel @ 4Ω, no fancy DSP, no networking — just clean analog amplification with bridge-mono switchable for sub duty. Lives in regional touring rigs, schools, churches, practice rooms, and house systems where simplicity and bulletproof reliability beat features.View gear →
06 · Resolve the questions that can change the purchase or build plan.
Planning questions
Short, source-backed answers surface rack fit, power, cabling, and connection details before they become surprises.
How will the Crown DCi 8|600N Network Amplifier affect rack fit and case depth?
It occupies 2U. Its documented depth is 410 mm.
How much power does the Crown DCi 8|600N Network Amplifier draw?
Typical draw is 700W and documented maximum draw is 3200W.
What connections does the Crown DCi 8|600N Network Amplifier have?
20 documented physical ports, including Analog In 1 (XLR), Analog In 2 (XLR), Analog In 3 (XLR), Analog In 4 (XLR), Analog In 5 (XLR), Analog In 6 (XLR).
07 · See this unit inside a real rack plan.
Builder preview
Placement is only the start. Builder checks space · depth · weight, power headroom, dependencies, and compatible signal paths around this exact catalog item.Open in Builder